In my earlier blog posts True Power of Your PC I stated that I’m able to do practically everything with only 4GB of RAM. That’s still is true, however yesterday I noticed that my current system which has 8GB of RAM is still running out of memory when rendering the video with Adobe Encore.
Some background info about my computing habits. I always turn the Virtual Memory off to actually see at what point in time does the physical memory run out. Obviously it’s not an issue, and I never run out of memory on day-to-day computing otherwise I would never turn the Virtual Memory off nor would I recommend anyone to do so. Running out of memory starts happening during memory/RAM intensive operations such as video editing, Photoshop, virtualization, gaming, compiling/development and so on.
Now, how is it that my old system with 4GB or RAM and my new system with 8GB or RAM behave the same. What I mean by this is that both systems were able to run the application without the Virtual Memory and both systems reported running out of memory somewhere in the middle of the rendering?
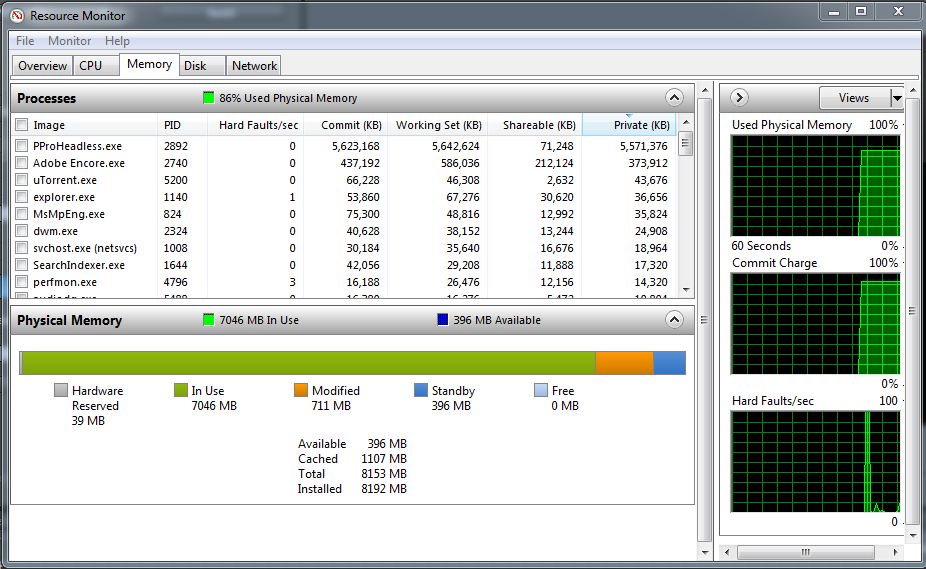
Looking at the picture you can see that all available memory has been taken and the screen shot looks very similar to the screen shot from the 4GB of RAM system. My understanding is that Adobe will take as much free memory as possible even though it doesn’t absolutely need it. My assumption is that if I had 16GB or RAM I would have still gotten the same error message at around 20% into the rendering.
At first thought I’m going to assume having more memory helped Adobe Encore finishing the job faster, but I don’t have any facts to support that. My current system renders twice as fast but obviously it’s not because of the memory. My new system is a completely new system with Intel i7 2600K CPU overclocked to 4.8GHz. On the other hand my older system as an AMD Phenome II X4 940 Black Edition running un-overclocked with the original specs. So there is no way for me to tell if the extra 4GB of Ram is making any improvement except that it’s a 8GB vs 4GB.


